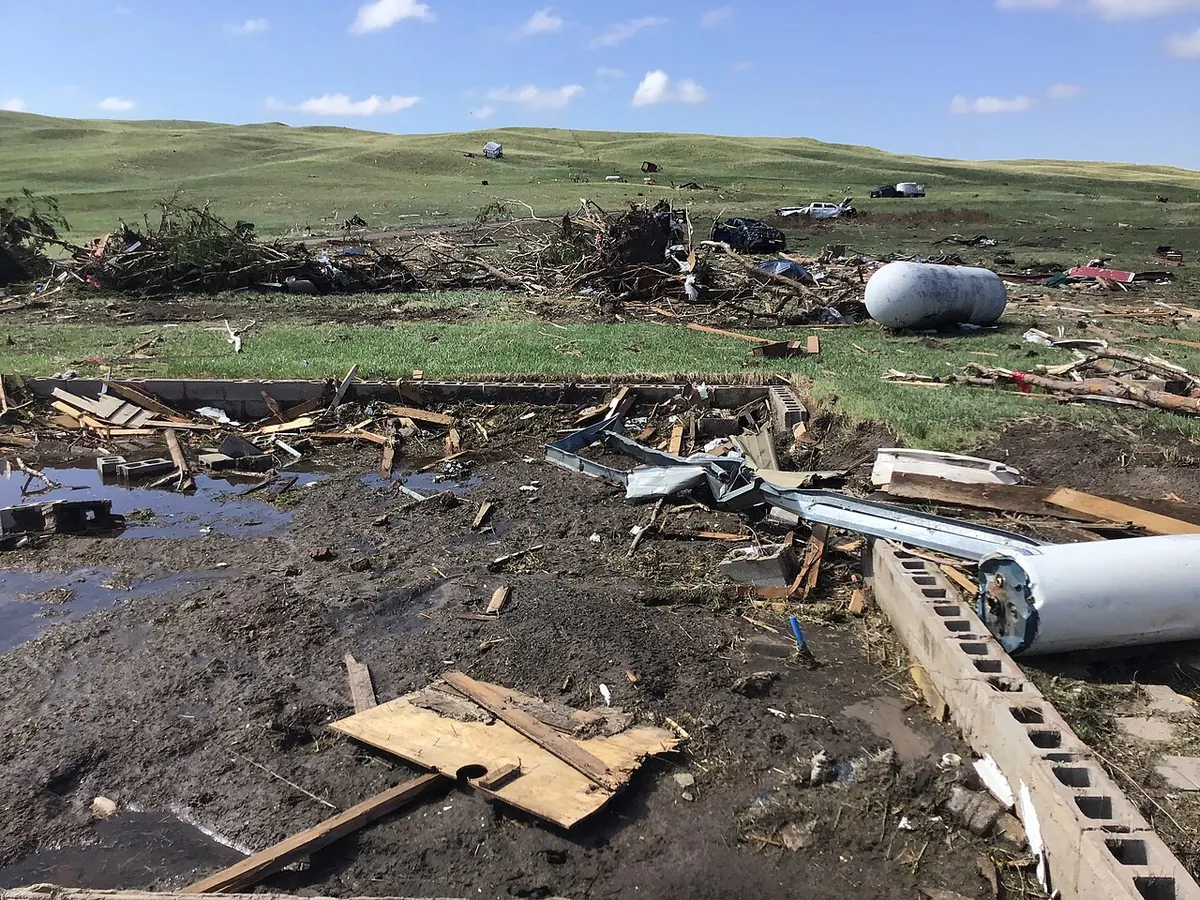
Tornadoes and derechos can turn a neighborhood upside down in minutes. The decisions you make in the first few weeks shape the whole claim. This checklist is general; your policy and situation may call for different steps.
Days 1–3: Safety and protection
- Make sure everyone is safe. Stay away from downed power lines and damaged structures.
- Report the claim to your insurer and note the claim number.
- Photograph and video all damage before cleanup, inside and out.
- Make reasonable temporary repairs: tarps, board-up, water extraction. Keep every receipt.
Days 4–10: Documentation
- Start a written log of every call, email and visit related to the claim.
- List damaged contents room by room while it’s fresh in your mind.
- Get a copy of your full policy, including endorsements.
- Track additional living expenses if you can’t stay home.
Days 10–20: The adjuster’s inspection
- Be present for the inspection if you can, and have your contractor there too.
- Point out everything: framing, windows, fences, trees, detached structures.
- Ask for the complete line-item estimate in writing, not just a summary.
Days 20–30: Compare and decide
- Get your own line-item estimate from a qualified contractor or estimator.
- Compare the two estimates item by item.
- Submit a supplement request for missing or underpriced items with support.
- If the gap is large and coverage is accepted, consider whether appraisal makes sense.
What not to do
- Don’t sign anything assigning your claim benefits without understanding it.
- Don’t throw away damaged materials until they’ve been documented.
- Don’t ignore deadlines while you negotiate.
Our claim deadline calendar turns your date of loss into a timeline you can export.